
And yet another post.
The weather recently has been nice so I’ve been trying to take advantage of it and get as much done as possible before summer sets in. I really wanted to clear as much brush as possible this winter but my brush cutter has been down for repairs off and on for most of the winter. Manually cutting brush as dense as what we have here is just plain impractical though I have tried to cut some every day.
I did try burning thinking it would be faster while providing ash to help the soil. I was right. It was fast. In fact it was so fast that within minutes I was running around like a mad man trying to put it out. Note to self: Don’t do that again.
I started a worm bin. After I get a raised bed garden built I want to put in worm towers so I figure I might as well get started and hopefully have extra worms to put in the towers. I also want to process worm tea for fertilizer and insect control. Worm castings will probably be available by this fall and will make a great addition to the greenhouse I want to build.
Building a basic worm bin is very easy. All you really need is two five gallon buckets, 1/8 inch drill bit, and a drill. Start off by drilling a

gazillion holes in the bottom of one bucket. This will allow the liquid produced by the bin to drain off and help prevent growth of some nasty bacteria. Next drill about a gazillion holes in the side of the bucket for air flow. Worms like a
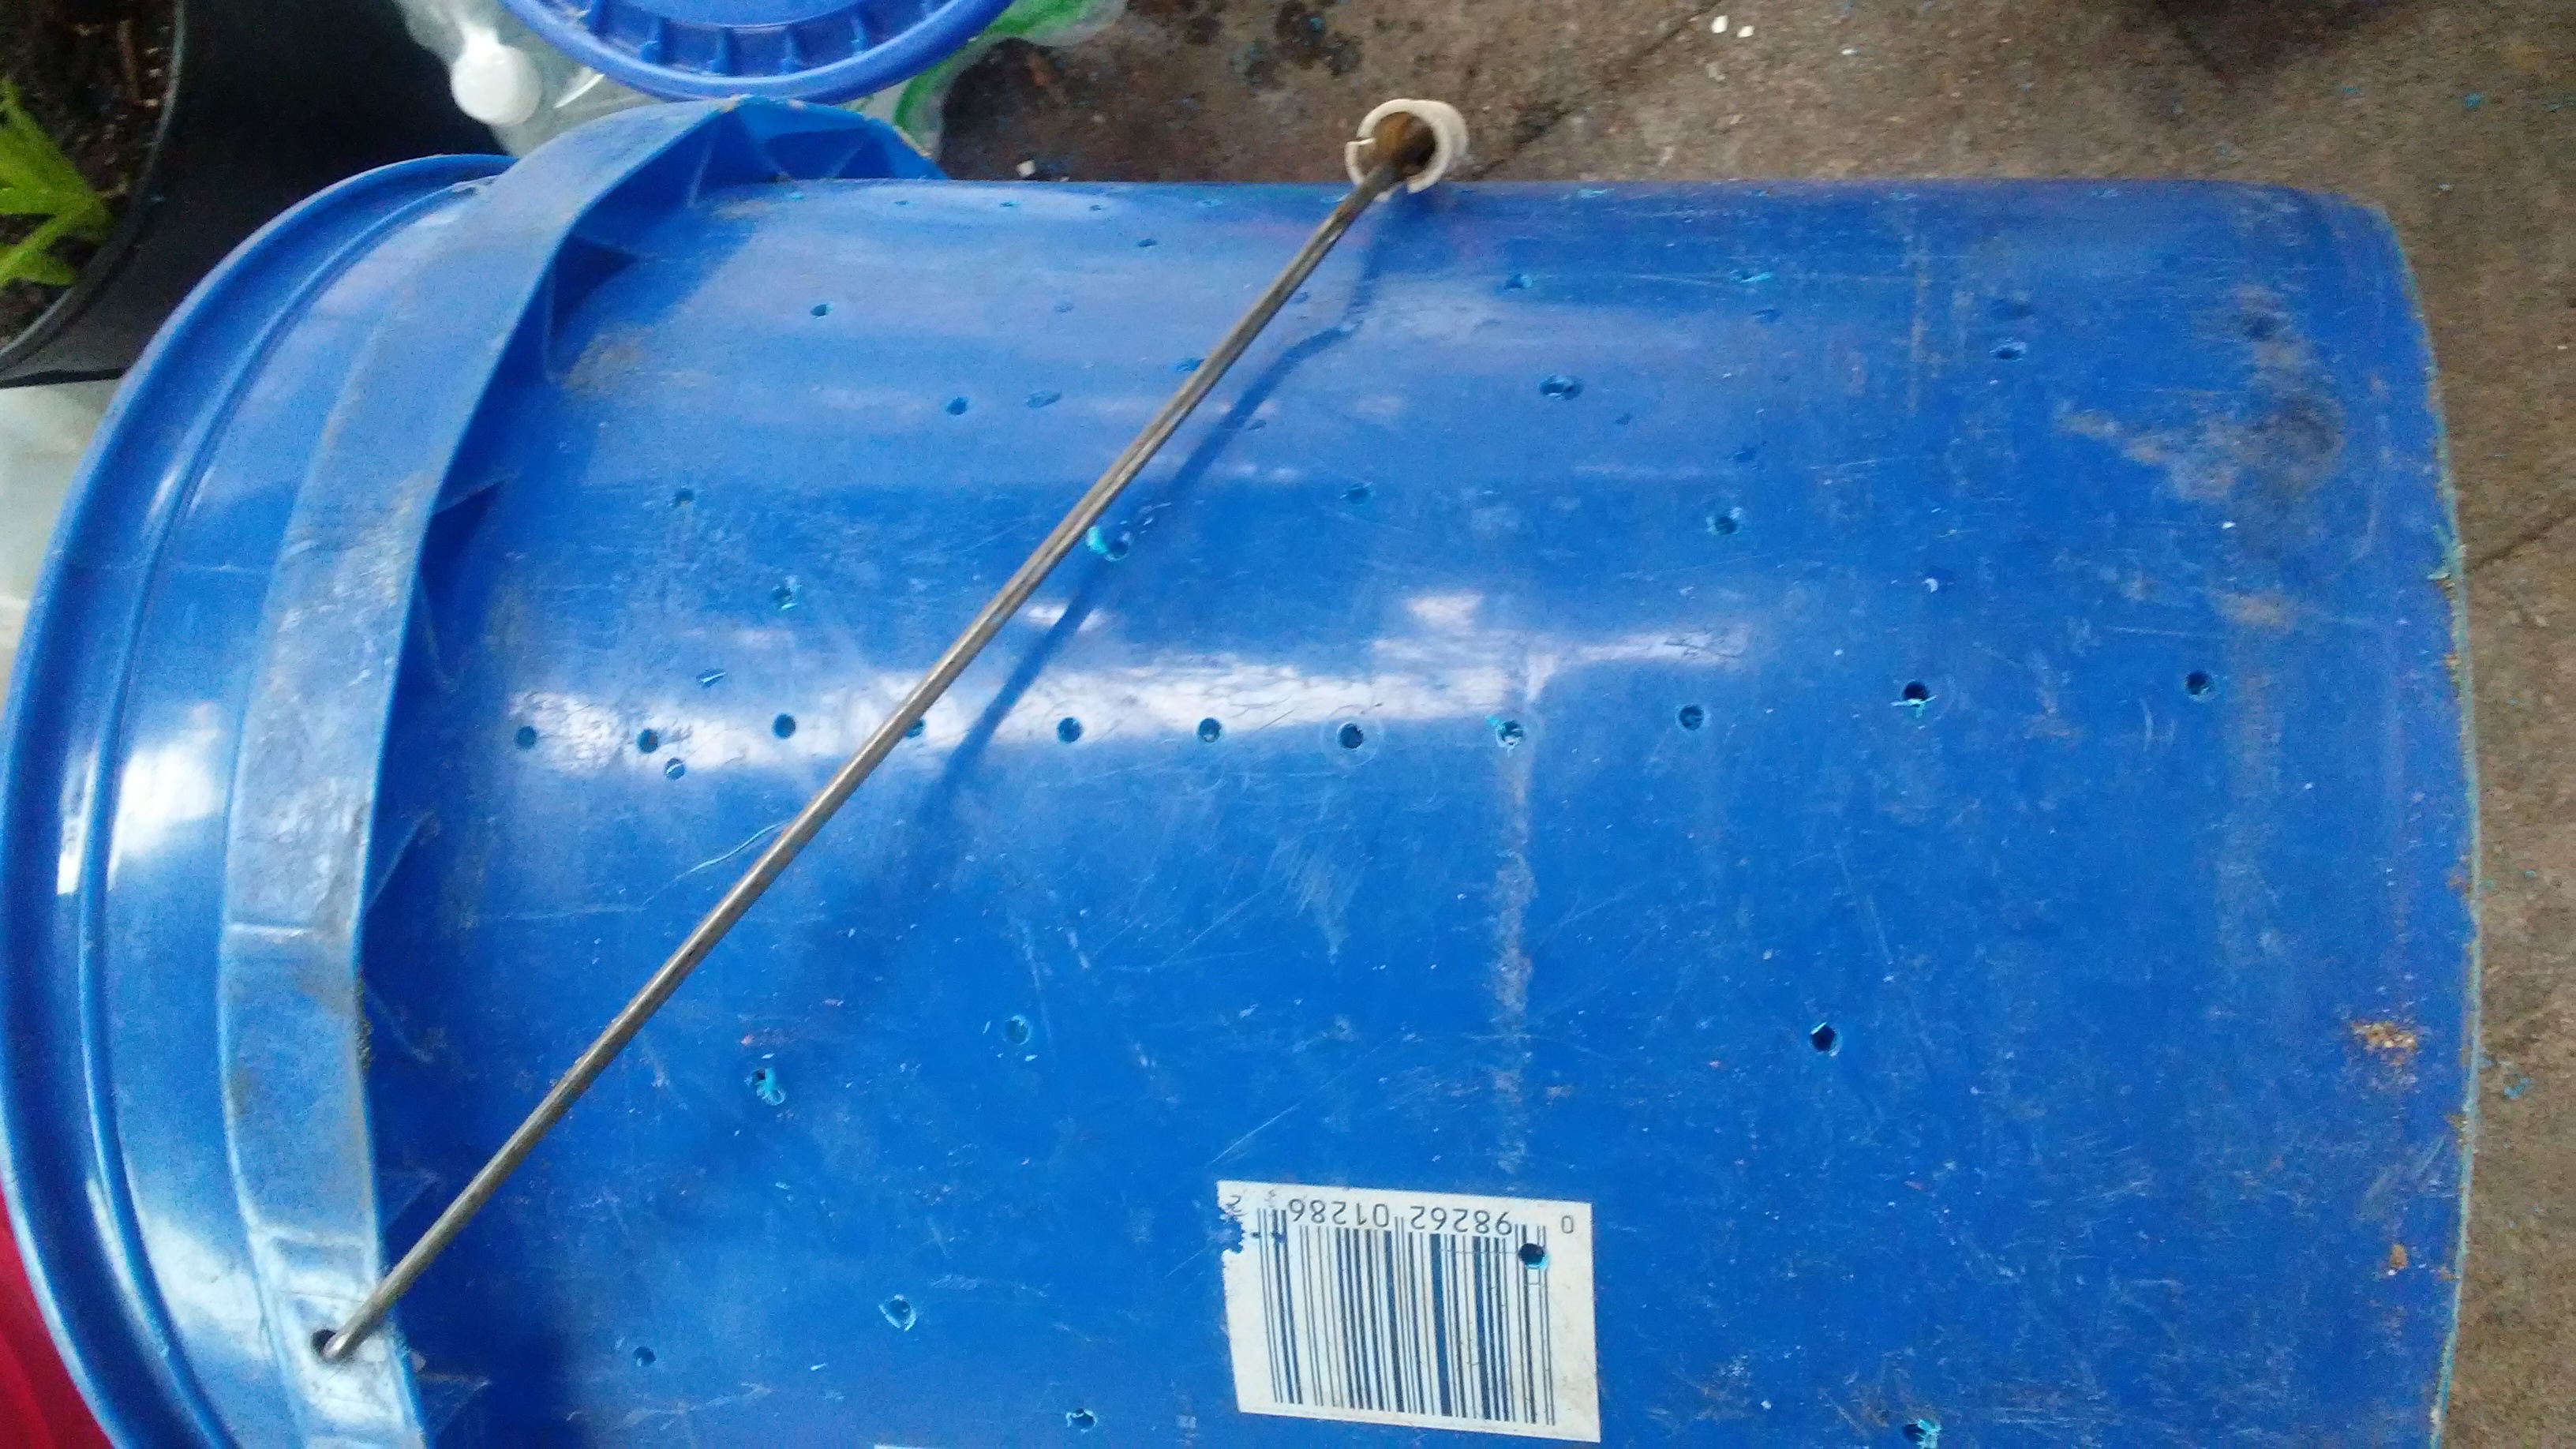
very moist environment but not soppy wet. They also need air flow since they become addicted to breathing at a very early age.
The next step is to put the holy bucket in another unholy bucket. Some people like to put a small valve in the bottom of the unholy bucket to drain the “worm tea”. I generally skip this since it’s easy enough to take the holy bucket out, pour out the liquid then reassemble.
Next you add the initial load of bedding and food for the worms. This can be shredded newspaper, vegetable scraps, coffee grounds, some plain dirt and some sand. It’s also good to smash up some egg shells to add in. Newspaper/crumpled

paper is for fluffing thus allowing air flow through the bed. This pleases the worms greatly and they will reward you by not staging a mass die off. Vegetable scraps, coffee grounds and eventually the paper will be what they eat. Sand provides grit for digestion and egg shells provides calcium for eggs.
Next step is to add water. I start off with just enough to get everything damp. As the vegetables break down additional moisture will be released so I try to not go overboard initially. I’m letting this mixture set for about a week then will add worms. I shake it up daily to help mix things together and check the unholy bucket for liquid in case I need to add more water.
An adult worm can eat it’s own weight in scraps daily. Worm population, under ideal conditions can double about every 90 days. Worm castings (worm poop) is the best fertilizer known to man. Worms make great pets since they don’t bark, chew your three hundred dollar wing tips, dig holes or bring home dead animal parts.
Next small project is a cloner. Then I’ll be out snatching cuttings from edible plants. I want to domesticate some of the local wild blackberries. I’ve already identified two female wild muscadine vines that I am going to try to domesticate.
Just a quick post. I’m working on the next chapter of “Life On An Indian Burial Ground” and will have it up in a week or so.
