
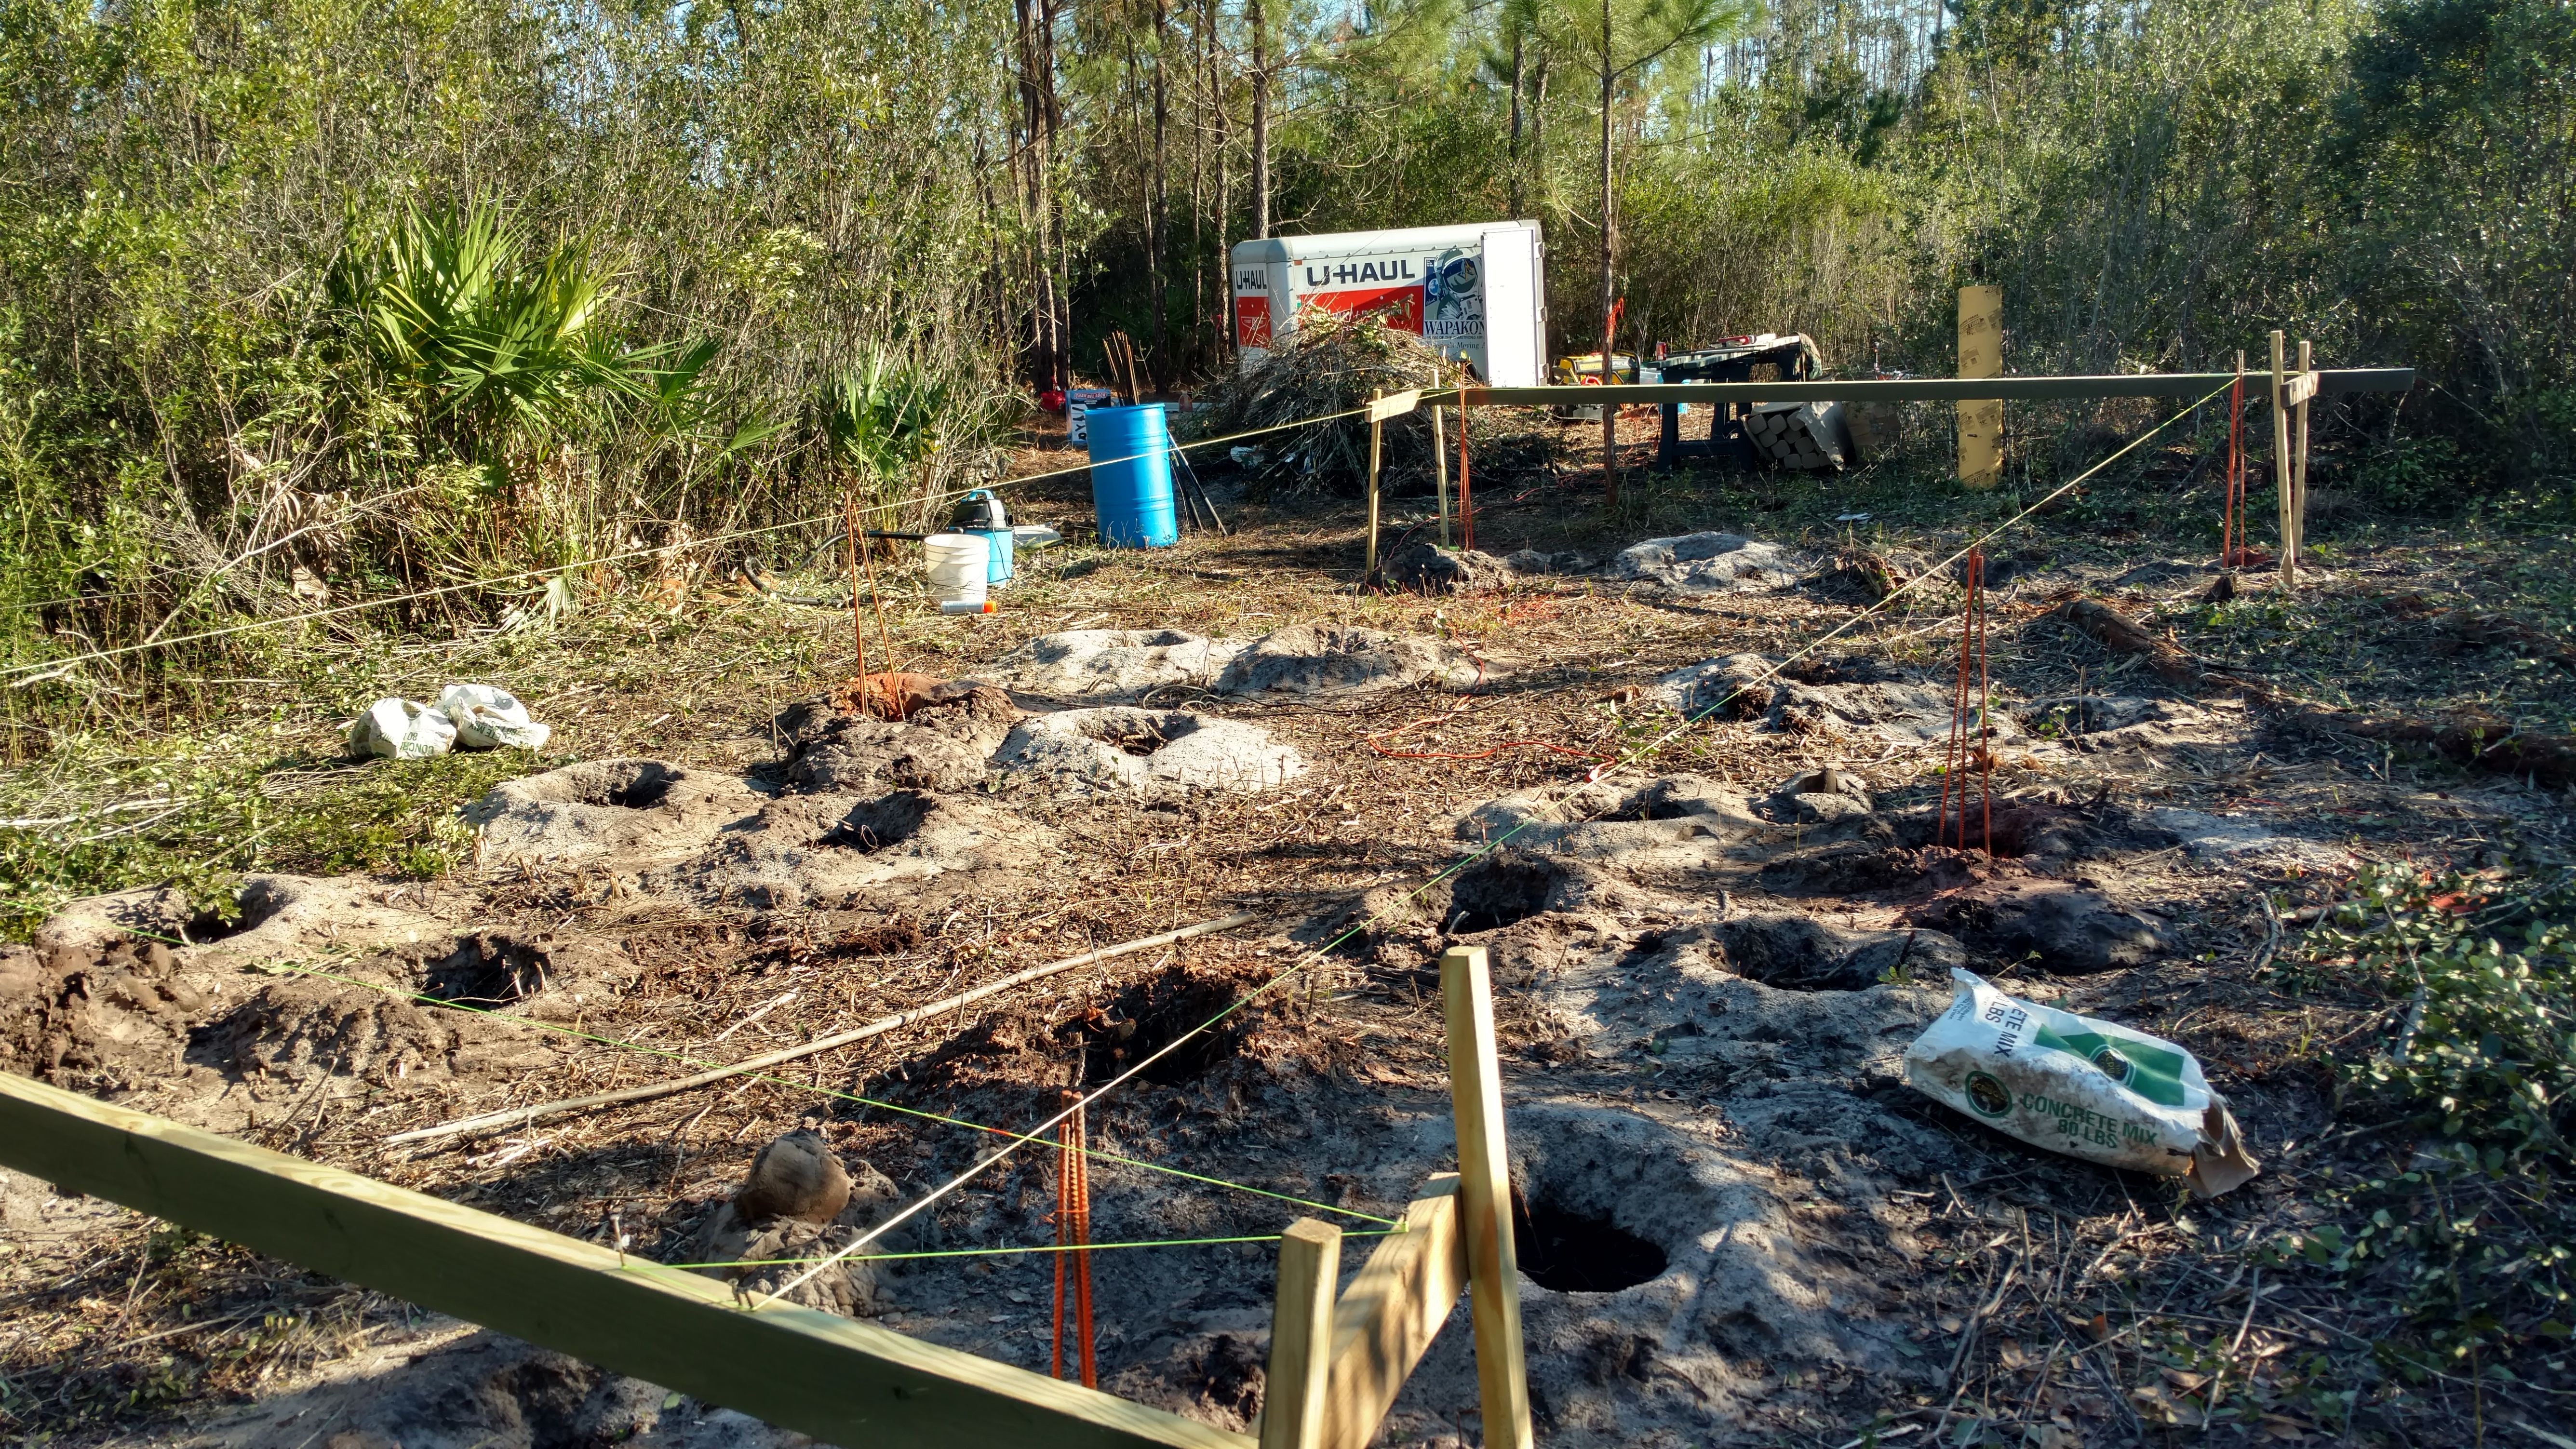
Sometimes I stand back to look at what has been done so far. I take some pleasure from the fact that I’ve made a lot of progress considering how things were at the start. Then I look at what is left to be done.
We started this week with the 24 holes dug and full of water. So we thought. We soon discovered that the holes were filling back in so they had about 18 inches of water and the rest loose, soggy sand. Digging them out with post hole diggers didn’t really work all that well since they just filled back up within minutes. The level wasn’t as high but still they had several inches of water drain in very quickly. After some discussion involving everything from dynamite to brief case thermonuclear devices we agreed that we had neither and needed new ideas.
So we decided to dig a hole out, put some rebar in, pour in a bag of dry concrete and see what happened. We were not in the best of spirits riding out that day.
Arriving the next morning we checked out our pilot hole to mixed reactions. The concrete had set somewhat and the rebar was locked in place somewhat. Grudgingly we concluded that an 18 to 24 inch 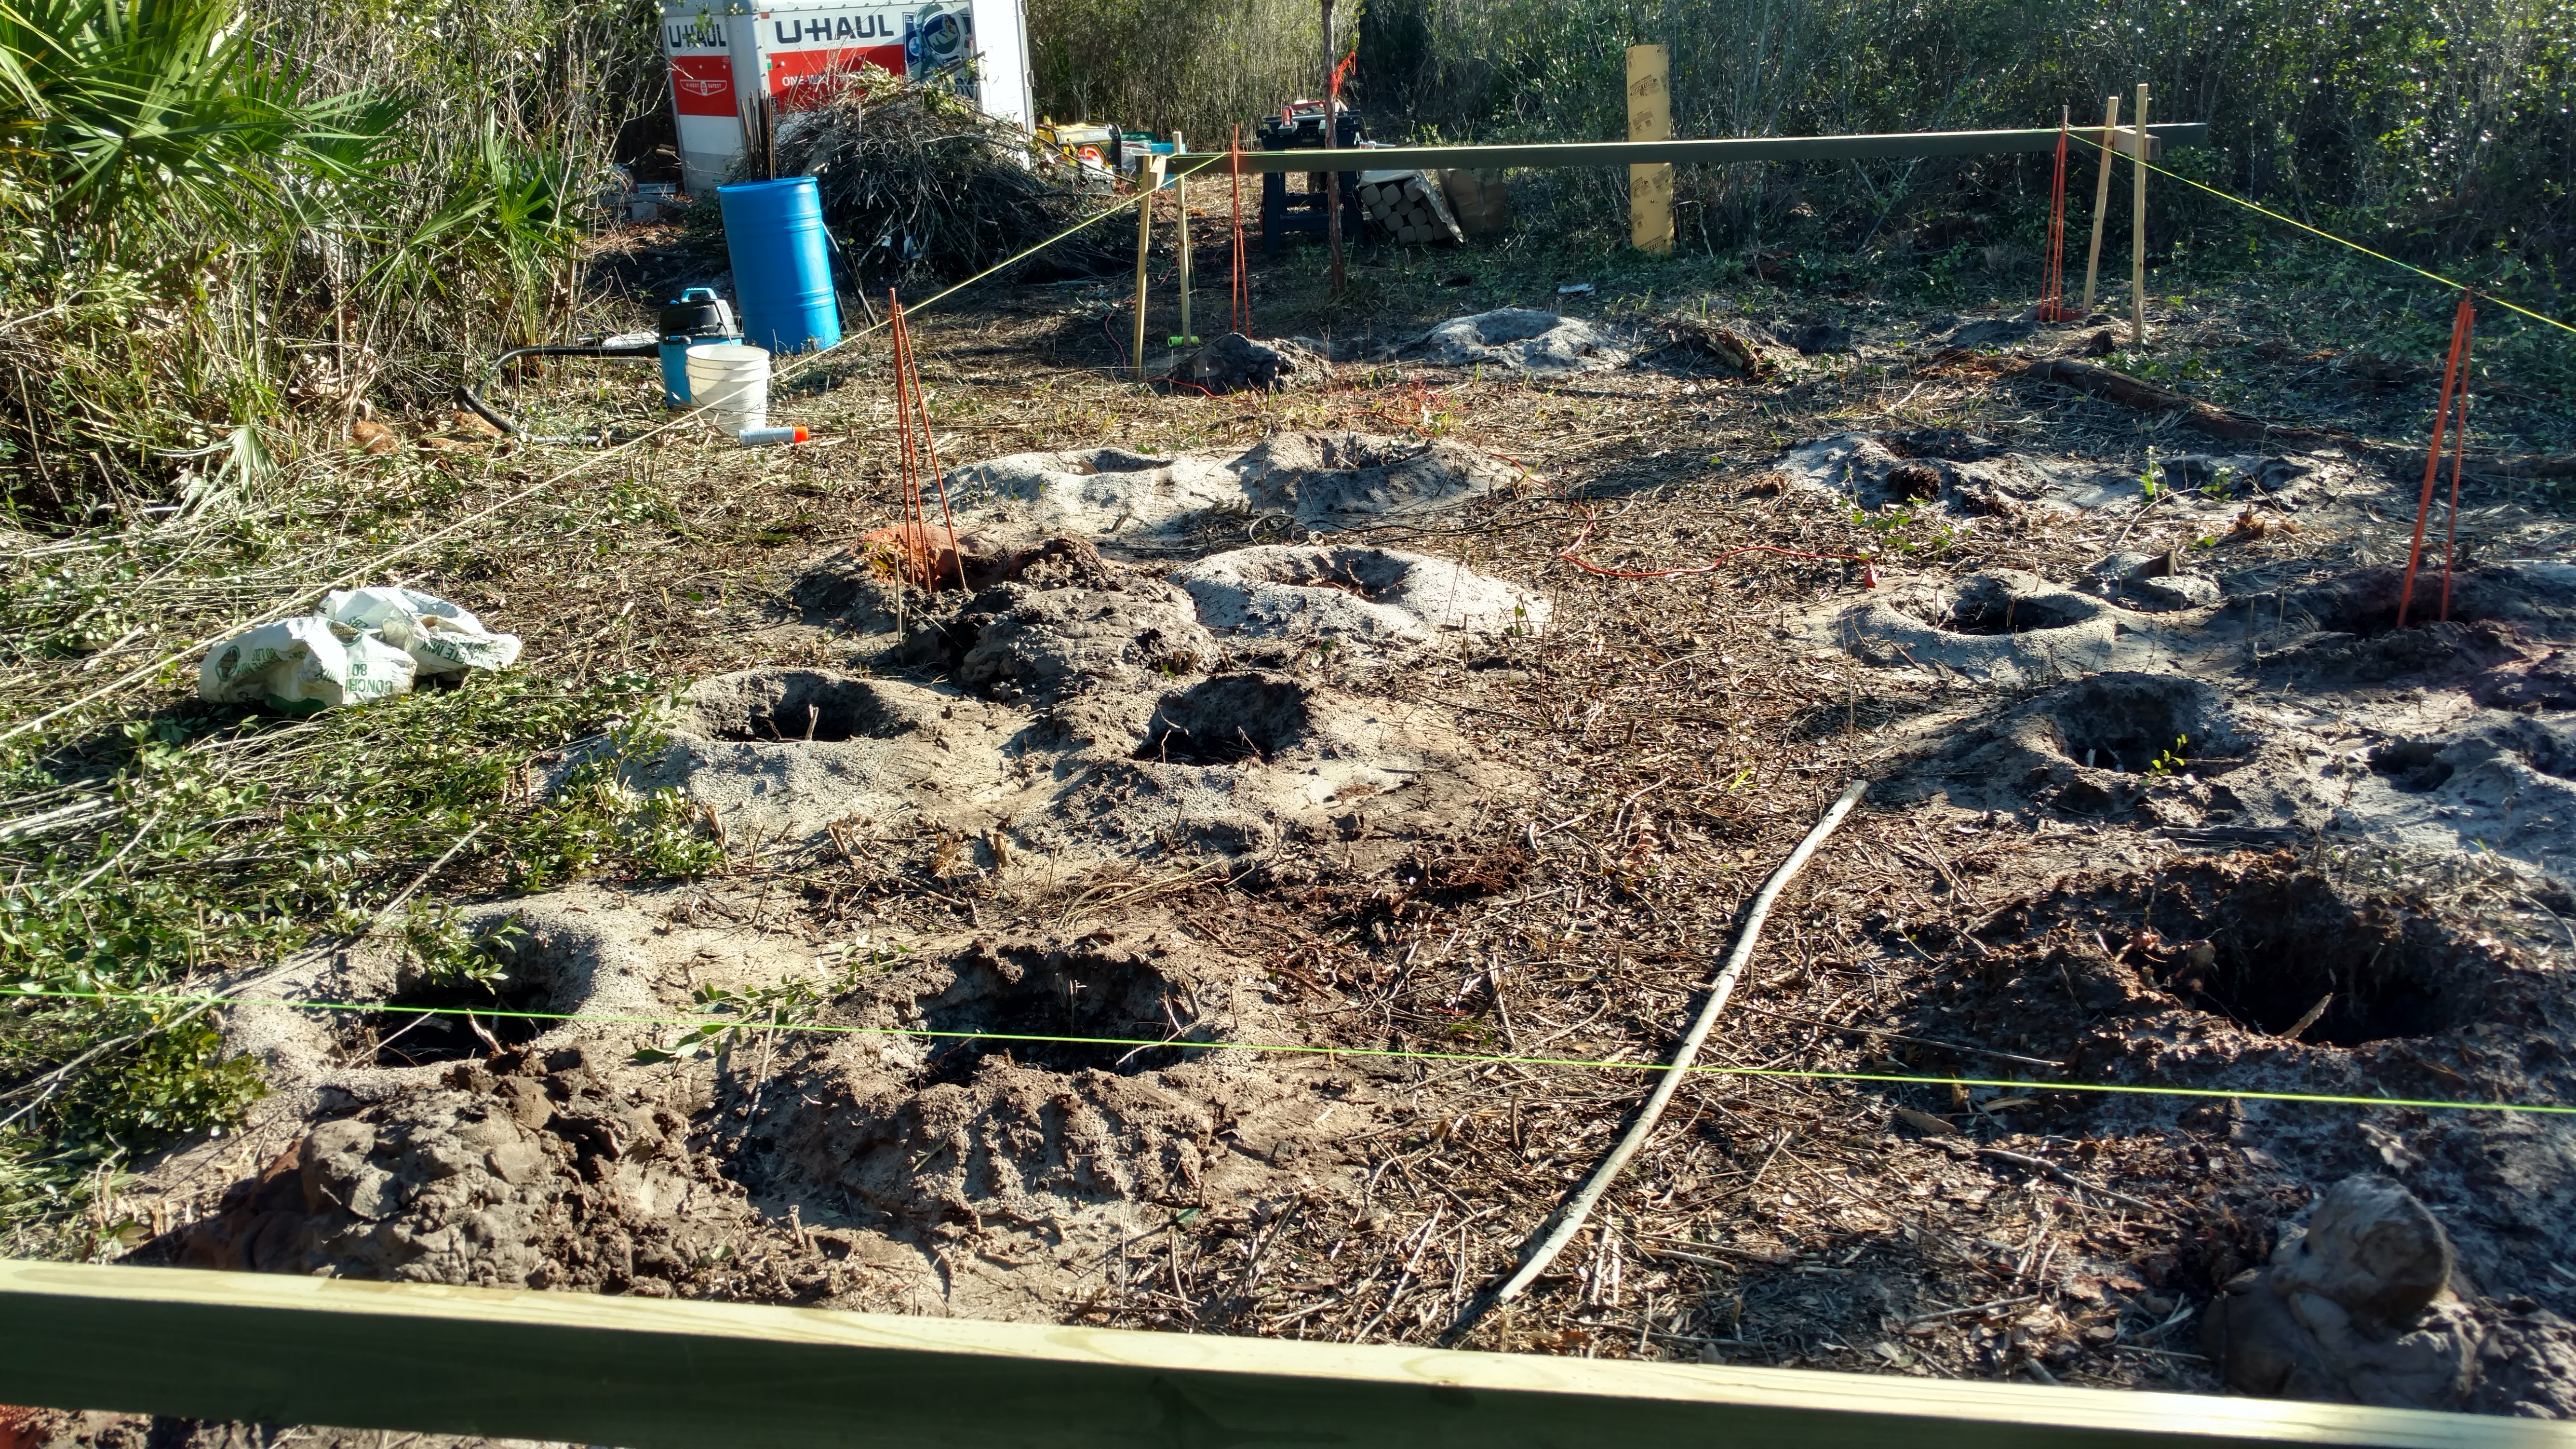 footer was the best we could hope for and decided to forge ahead. In retrospect, that should be adequate. The 12×12 portion of the shed has 16 footers, the 6×12 porch shares 4 of the footers and has 4 of its own, and the 10 foot awning has 4 footers. Each footer and column will have 320 pounds of concrete holding it down plus the weight of the shed on it. It’s not going anywhere.
 By the end of the day we had cleared more brush around the shed and poured five more footers. Of course it rained the next day so I spent the day assembling material, tools and ordering more concrete. We’re planning on pouring a footer around at least the outside columns so I had to get an additional 150 bags of concrete in the pipeline.
Our next day out we set the six columns and poured them to within 2 feet of the top. We will be putting the posts in post protectors then 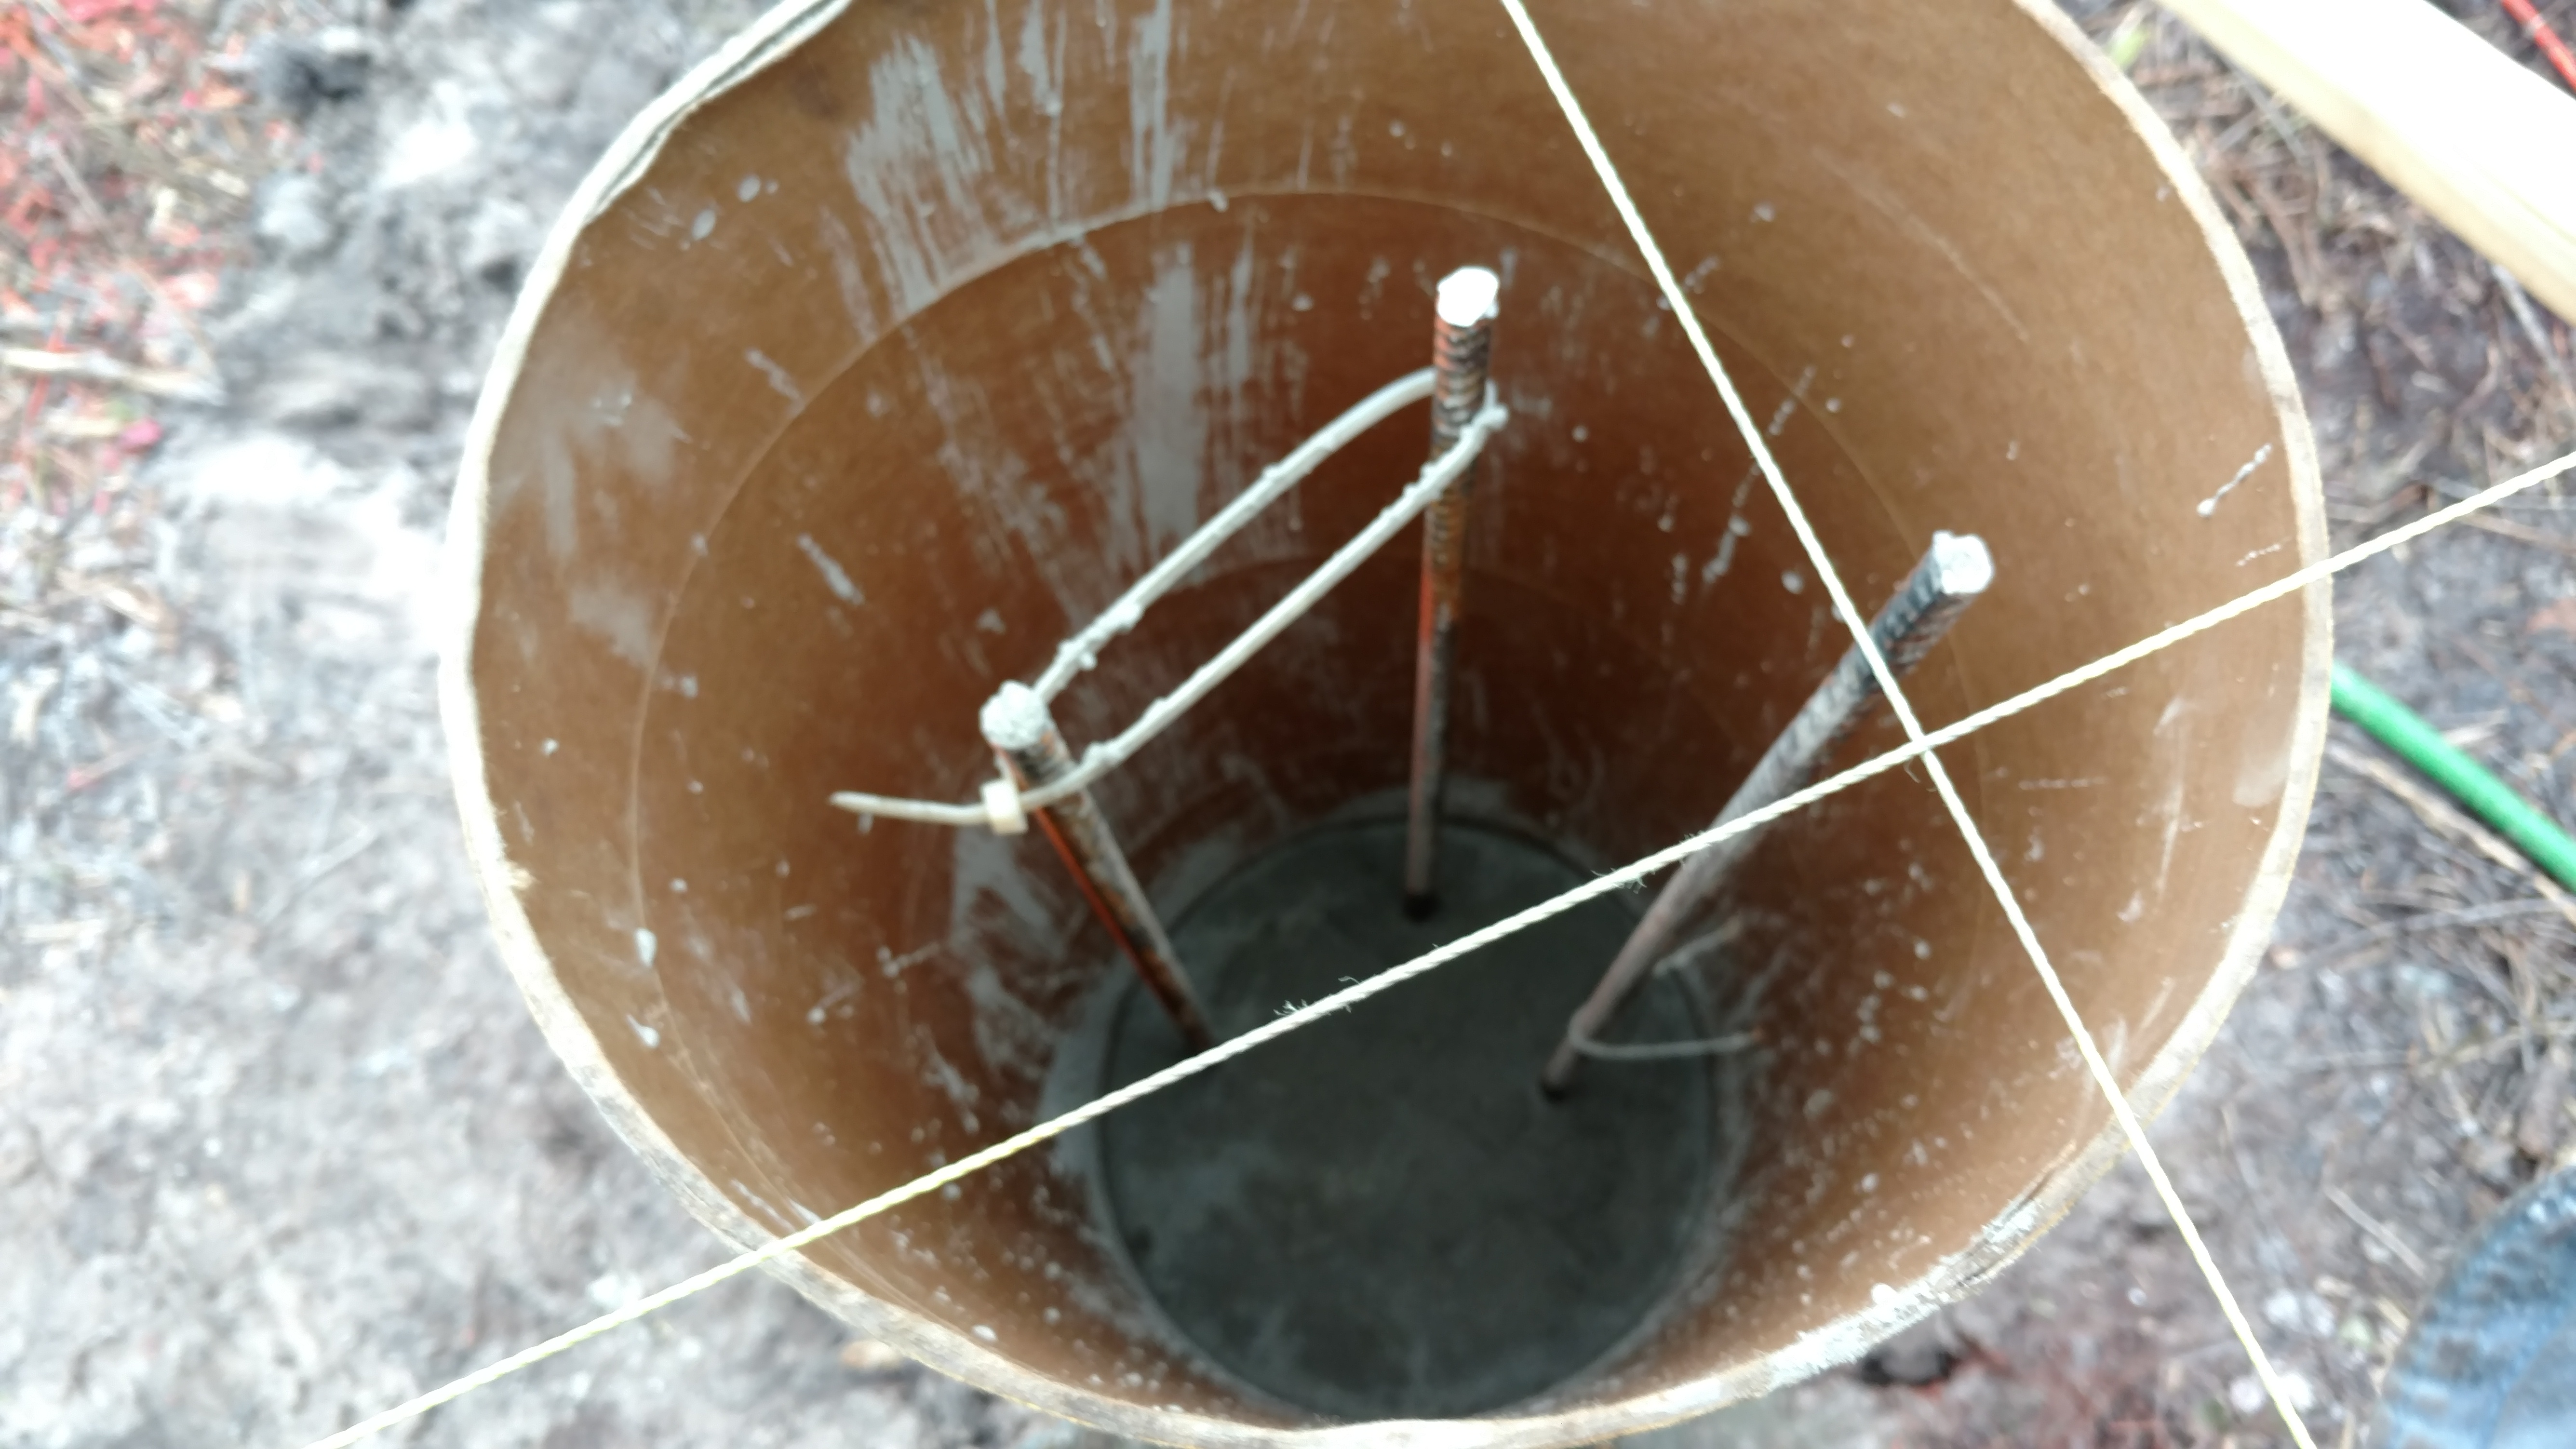 setting them in the concrete forms. After getting them plumb and
 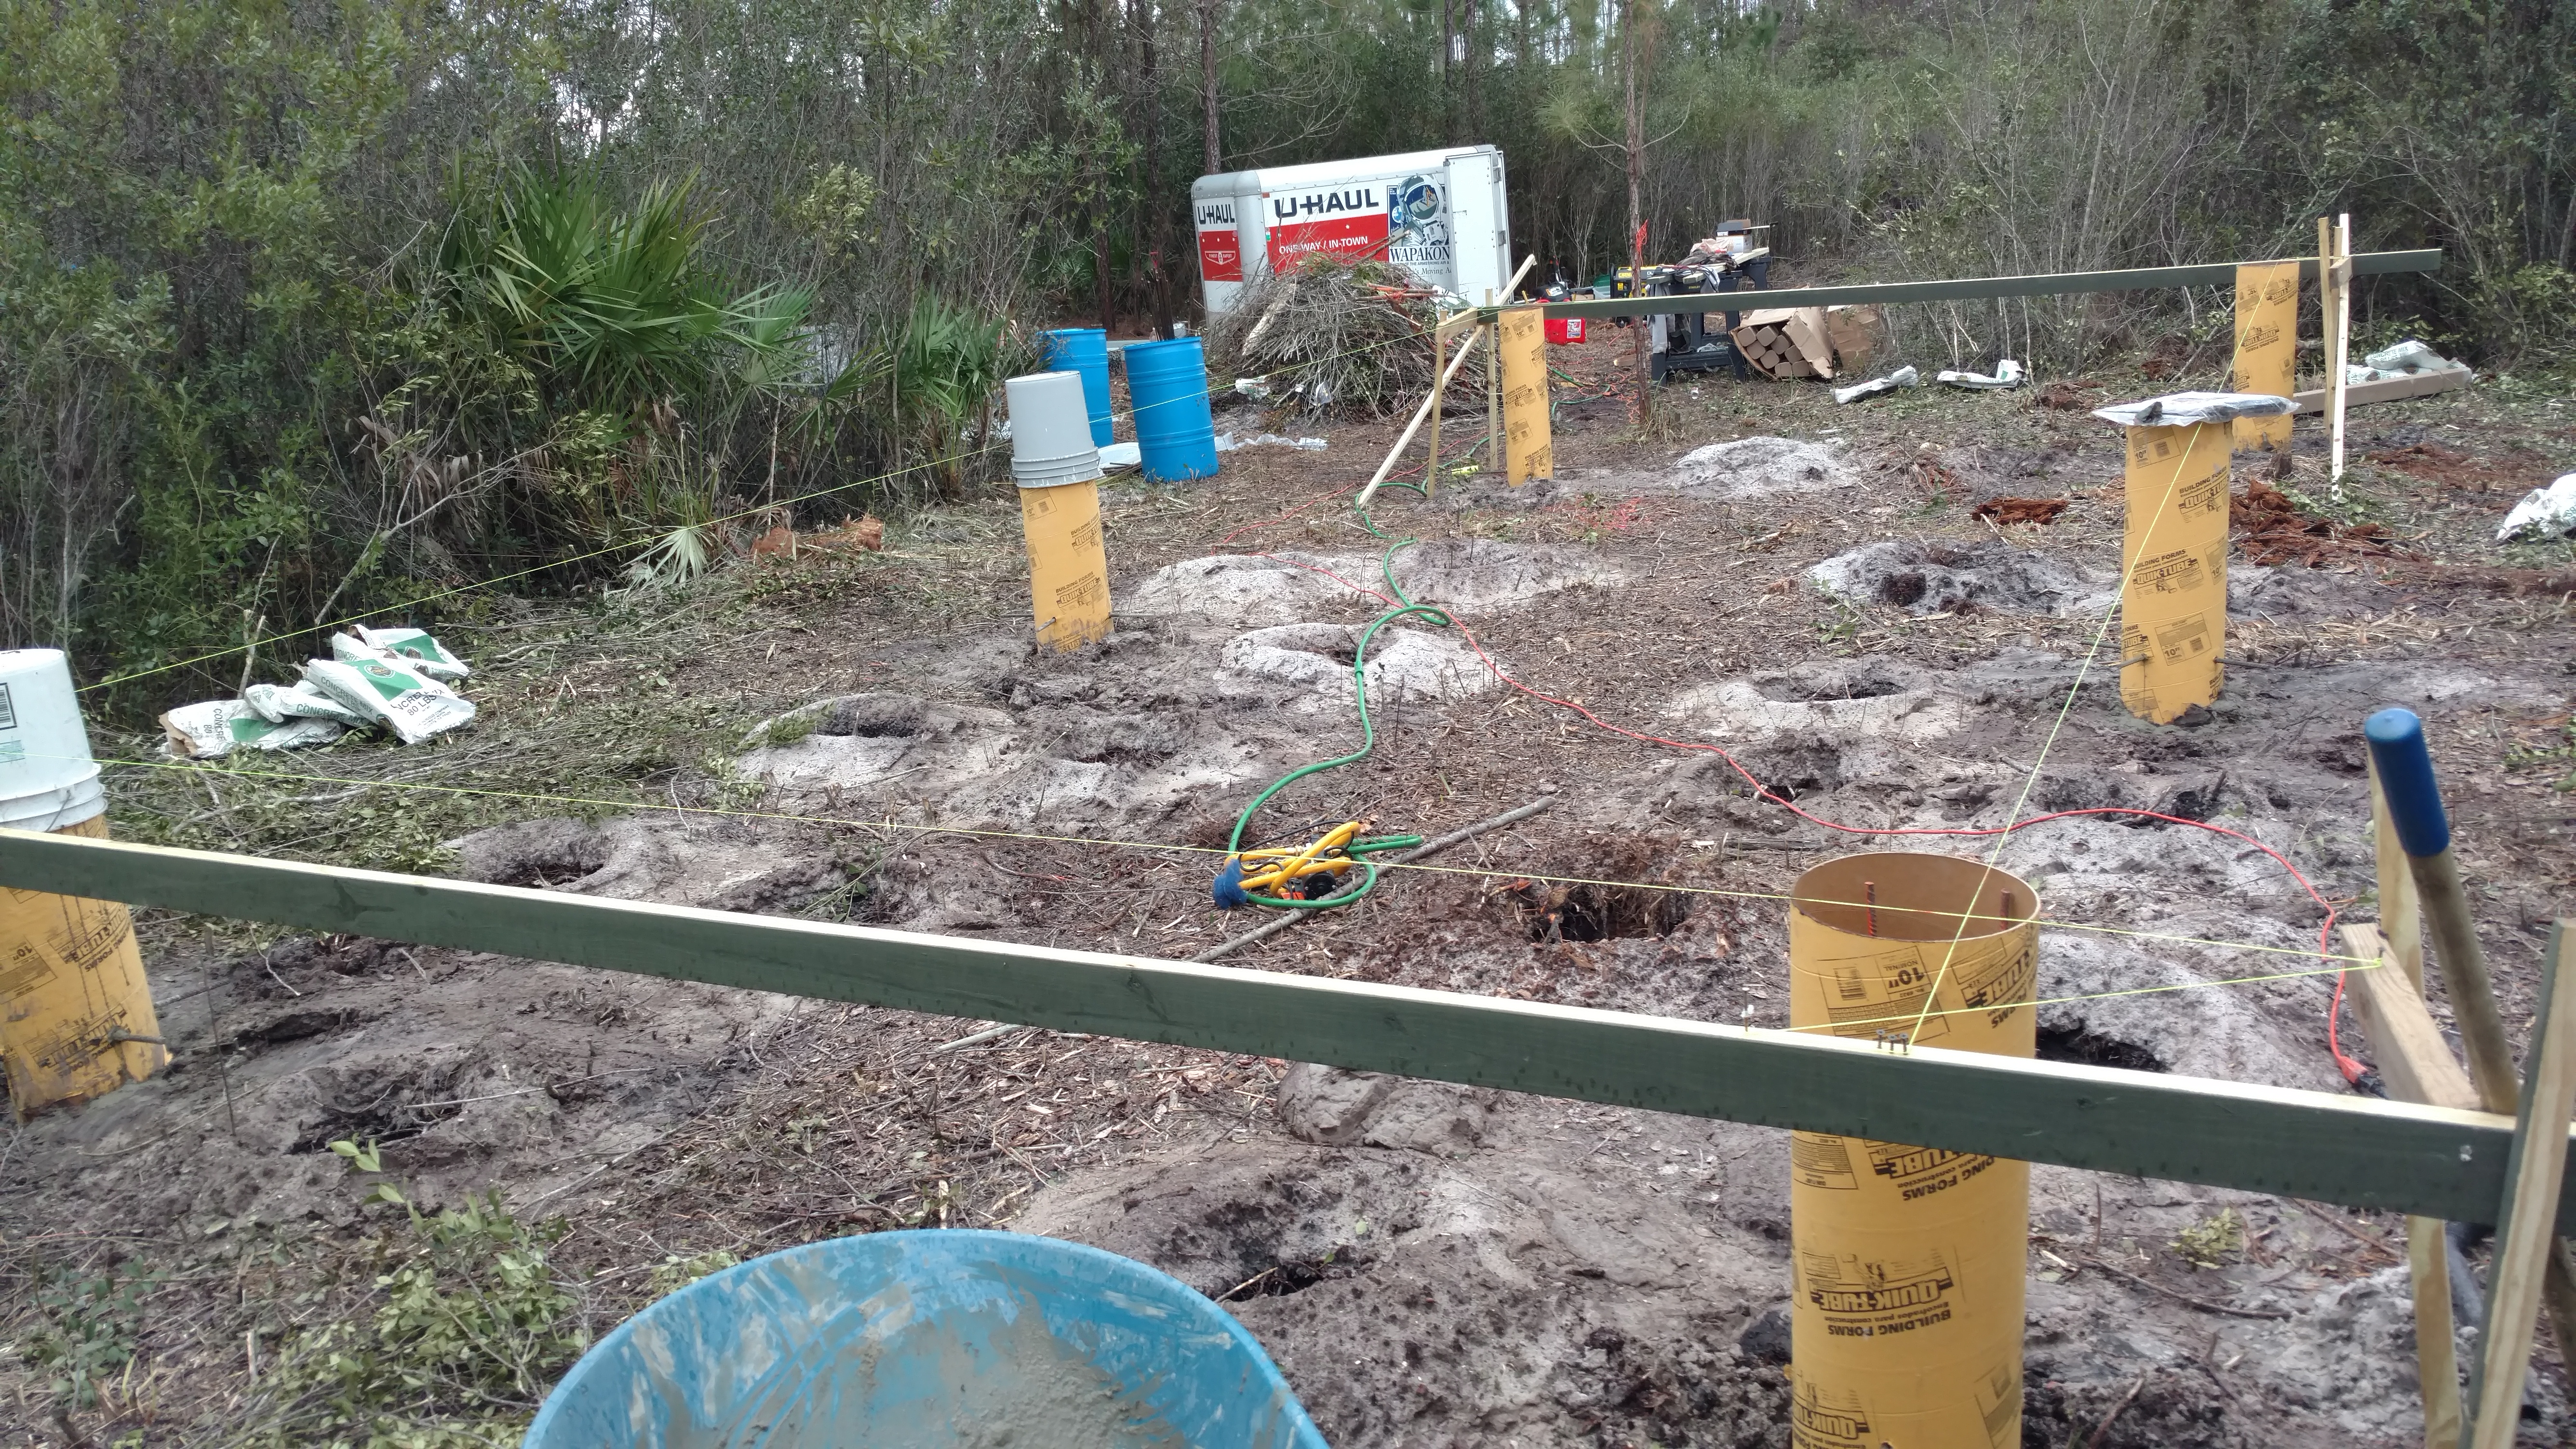 square we will finish filling the form with concrete. At that point we will probably connect them with some two bys to keep the square. We would have set these today but it rained today. Frankly, I never expected
 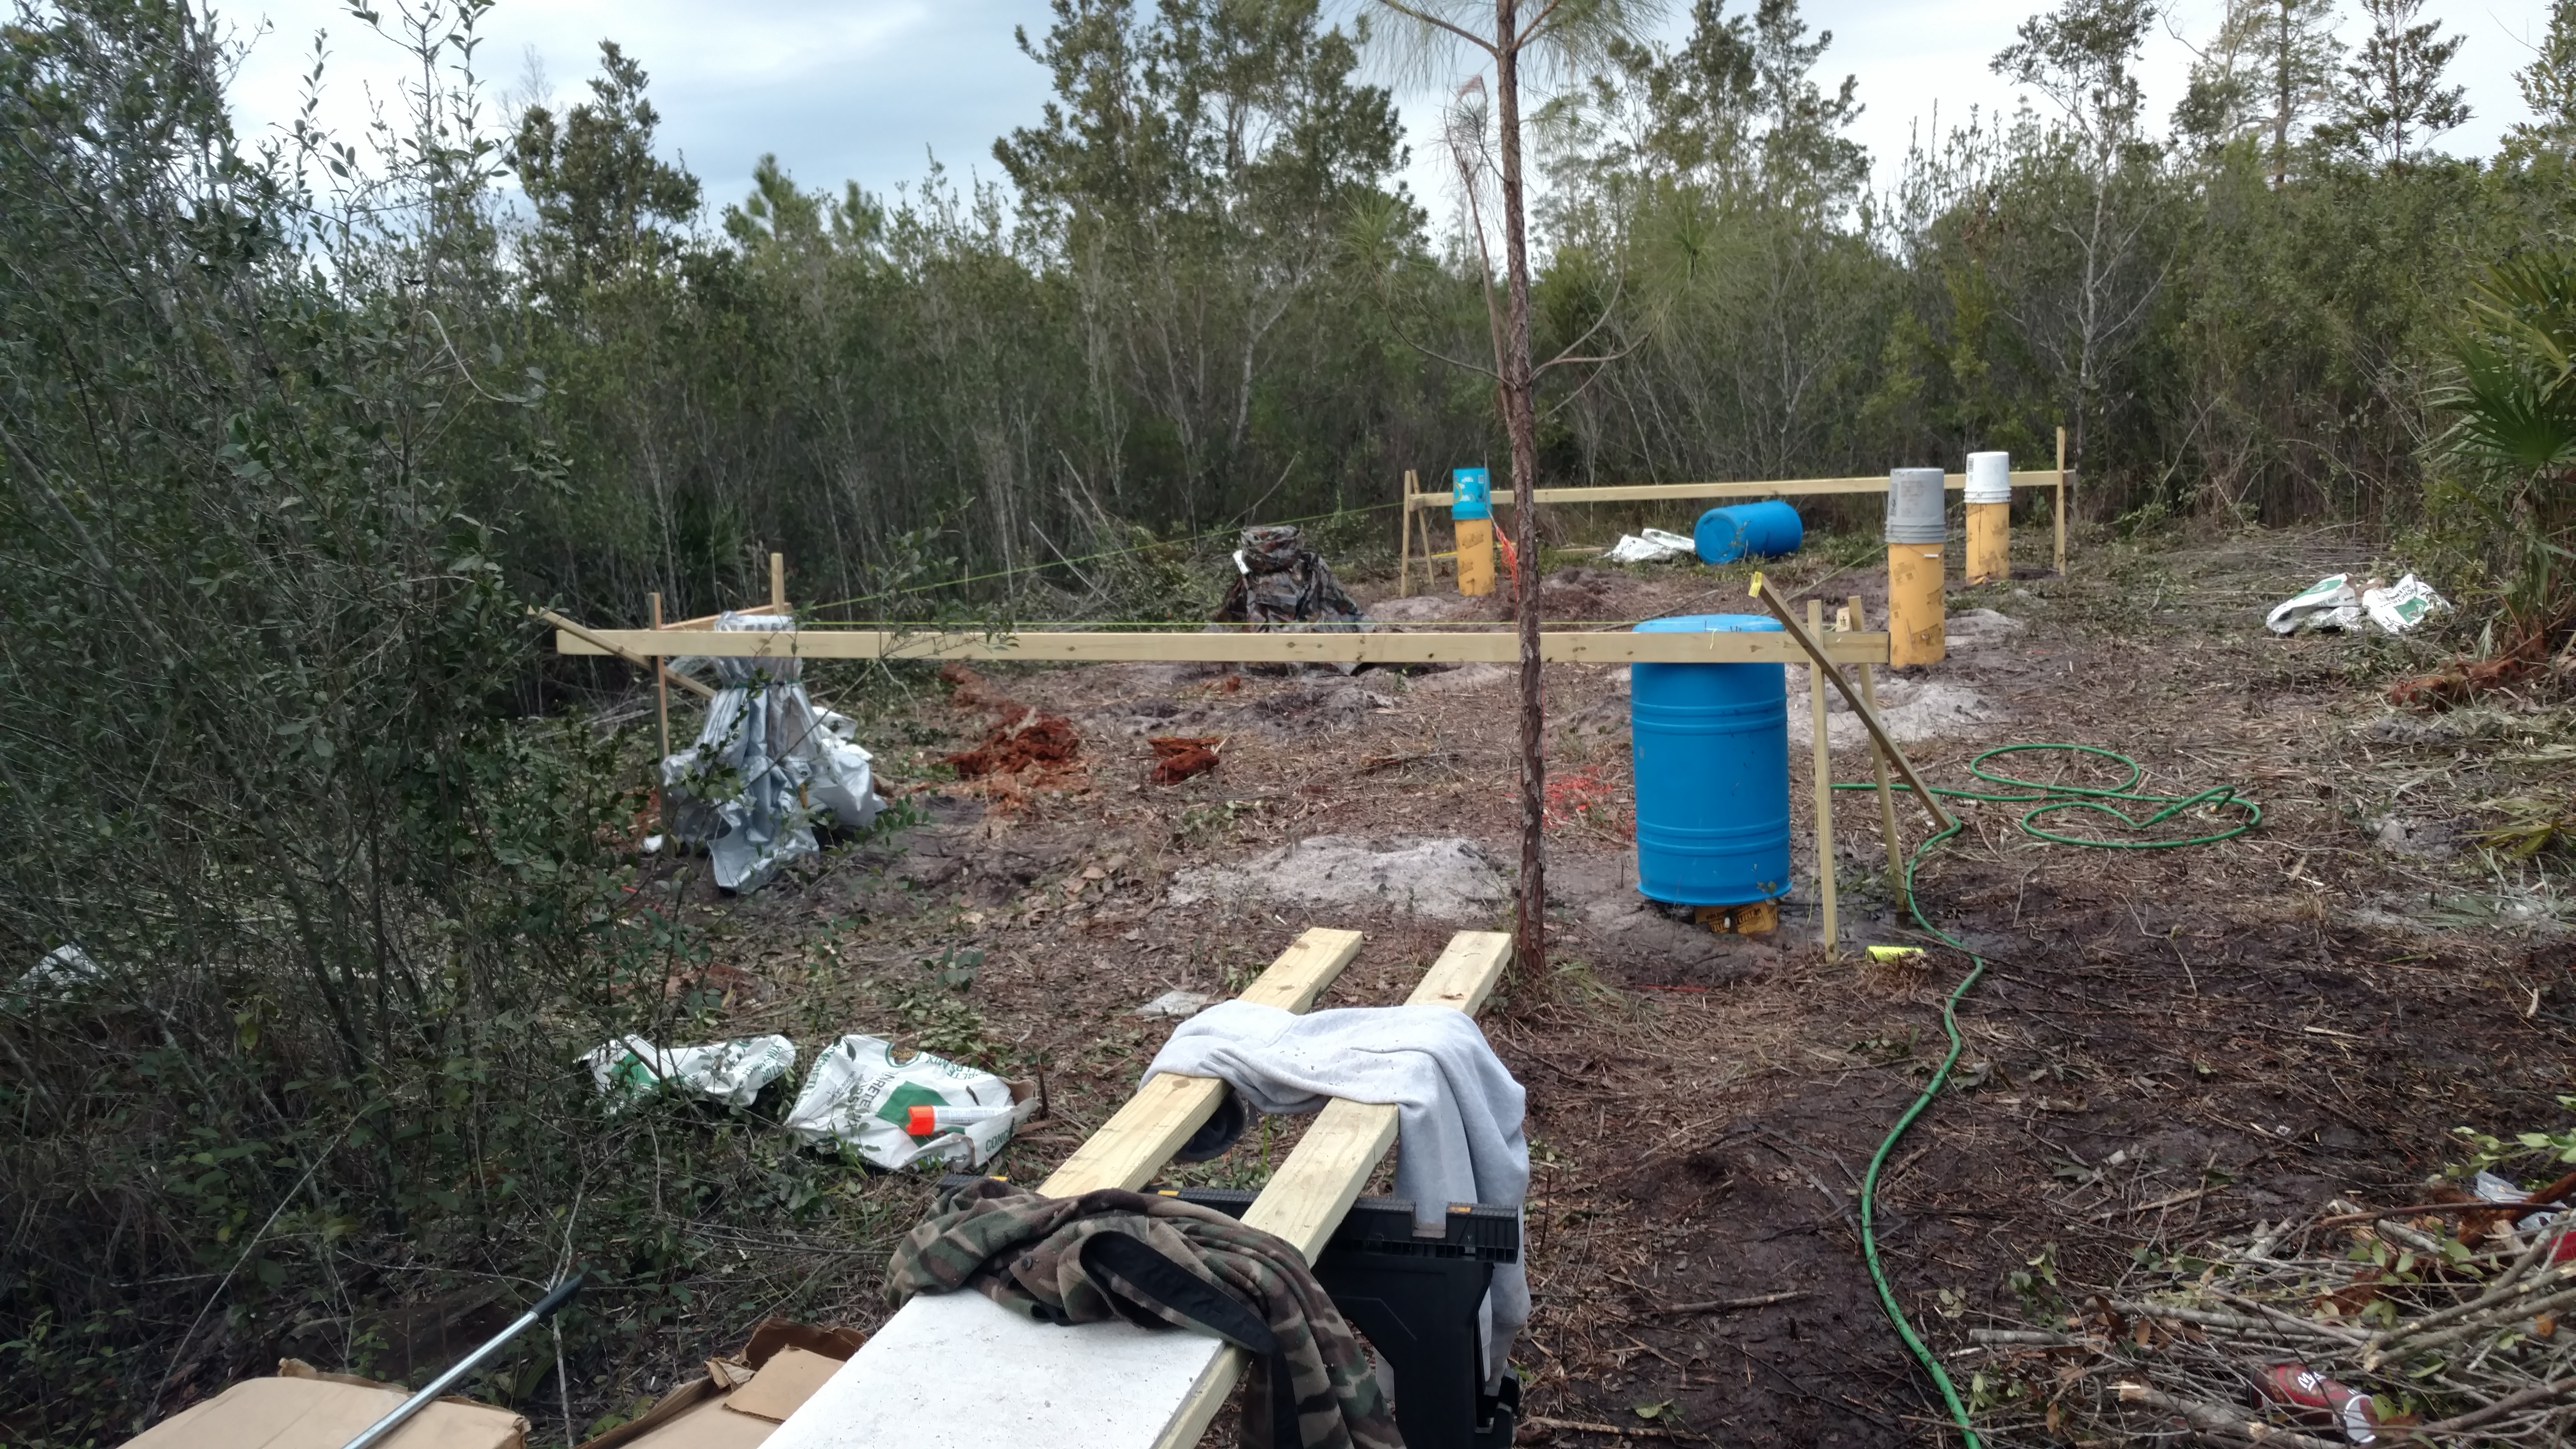 this to be this hard. Like a lot of people I had a vision of living off the grid that involved pitching a tent, cutting down some trees, nailing them together then roasting Bambi over an open fire. Funny how reality will slap the crap outta you on occasion just to set you straight. Anyway, at the end of the day we covered the forms which oddly enough react very badly to water, and left.
Do not meddle in the affairs of dragons, for you are crunchy and taste good with ketchup.
